At a recent get together of the Stampin' Up group that I belong to, I was asked to demonstrate some backgrounds created by using various techniques. As promised to the Stampin' Up ladies at our get together I will be posting over the next week instructions and photos of the backgrounds that I demonstrated.
The first background is the Retiform Technique which I found on Splitcoast Stampers with a great tutorial . This is a great technique using post-it notes and cardstock scraps to create the masks for the sponging and stamping.
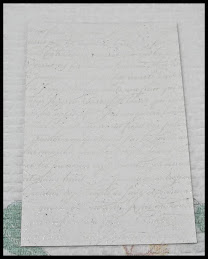
I started with a piece of Naturals White cardstock and using a scrap of Naturals White to create the mask, I sponged on Baked Brown Sugar ink for my first line. There is no correct pattern to this, just create your gridlines where you want then to go. Below are a pictures of the first steps, sponging on Baked Brown Sugar to create the divisions where you will be stamping. I sponged so that the ink is on the inside of the lines, however you can sponge so that ink is on the outside of the lines. It just depends upon what effect you want to create, experiment to see which method you like best, just be consistent otherwise the technique will not work.
The next step is to sponge a light base colour over the entire piece. I have used Crumb Cake, this is done randomly, leaving some light patches (just make sure that you have inked over the entire piece so that no Naturals White is showing through).
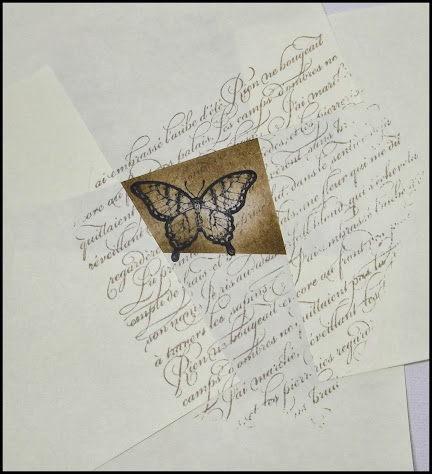
You are now ready to start stamping. Mask off the centre piece with Post-it Notes to stamp the first image. It does not matter if you off stamp over the edge of the mask, it does look better if some of the images are stamped off centre or partially off the masked piece. Build up each section using a variety of stamps and inks to create the effect that you want.
You continue to mask off the various sections and continue stamping until you have built up the piece and all the sections have been stamped. I used Jet Black Staz-on, Baked Brown Sugar and Crumb Cake for the stamping along with stamps from the En Francais, Backyard Basics, Flowering Flourishes, Papillon Potpourri and Everything Eleanor stamp sets, along with the Music Note Stampin' Wheel. (Tip: I take the stamp off the Stampin' Wheel and fix it to a piece of Perspex to create a stamp which I find much easier to use than the Stampin' Wheel). The sentiment is from the Peaceful Petals stamp set.
Once the background piece is finished you can now make your card. I have used a Basic Black card base, along with some Victoria Crochet Trim and the Scallop Oval and Large Oval punches for the sentiment.
Inside of the card - I try and finish the inside of my cards to match the front. It just gives a nice finishing touch instead of a blank card inside.
This is a very basic technique but you can get some terrific effects with it by using different grid patterns and ink colours.
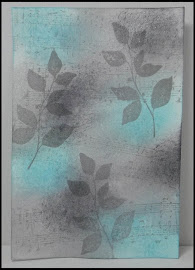
The card below is one that I cased from Gina K designs, I just loved the colours (I used Always Artichoke, Crumb Cake and Early Espresso on Naturals White and Early Espresso cardstock.) I used the same gridlines and design for my card above.