Showing posts with label Balloon Celebration. Show all posts

Tuesday, 26 March 2019

Tuesday Challenge #6

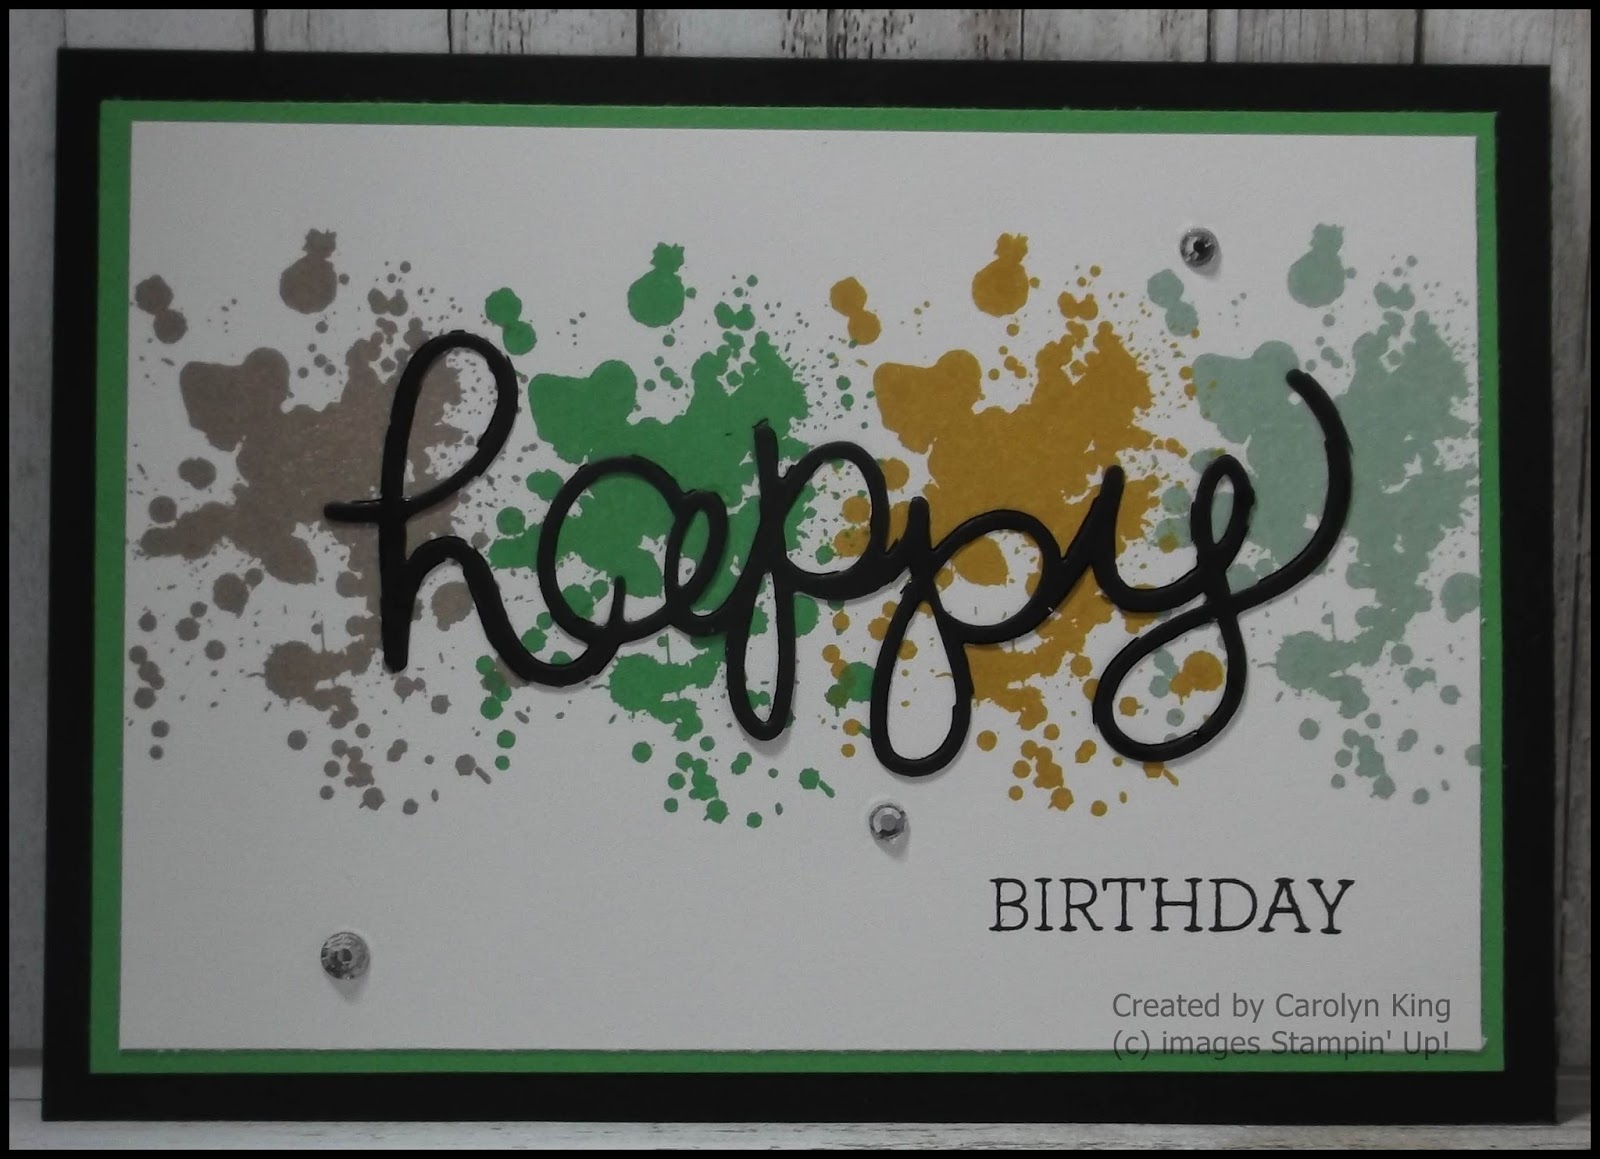
Hi everyone, it is the 6th week of my 'Tuesday Challenge' to use a stamp set and other goodies from the Annual Catalogue to create a card or other project.


I have used the Artisan Textures and Balloon Celebrations stamps sets along with the Balloon Bouquet Punch from the Annual Catalogue and Rectangle Stitched Framelits from the Occassions Catalogue.

I stamped the distressed image from the Artisan Textures stamp set with Crushed Curry ink over the card front.  I then stamped the two star images from the Balloon Celebrations stamp set with Soft Suede ink and then the balloon strings using Black Memento ink.

The balloons were punched from Gold Foil Sheet, Basic Black and Soft Suede cardstock using the Balloon Bouquet Punch and adhered in place.

The sentiment was stamped using Versamark ink on a piece of Basic Black cardstock, White heat embossed before being cut out using the rectangle from the Rectangle Stitched Framelits.  This was adhered in place using dimensionals.

For the inside of the card I stamped the same images as the background in the bottom right corner of a piece of Whisper White cardstock 9.5cm x 13.8cm, this was then matted onto a piece of Soft Suede cardstock 10cm x 14.3cm before being adhered to the inside of the card.

This is a fun and easy card to make.  You could make it in any colour combination that you like.

If you live in Australia
you can get all the supplies you need
for this project from me.

You can place an order online or Contact Me and place an order. 


Thank you for visiting.
Carolyn

Monday, 27 August 2018

Daisy Pillow Box

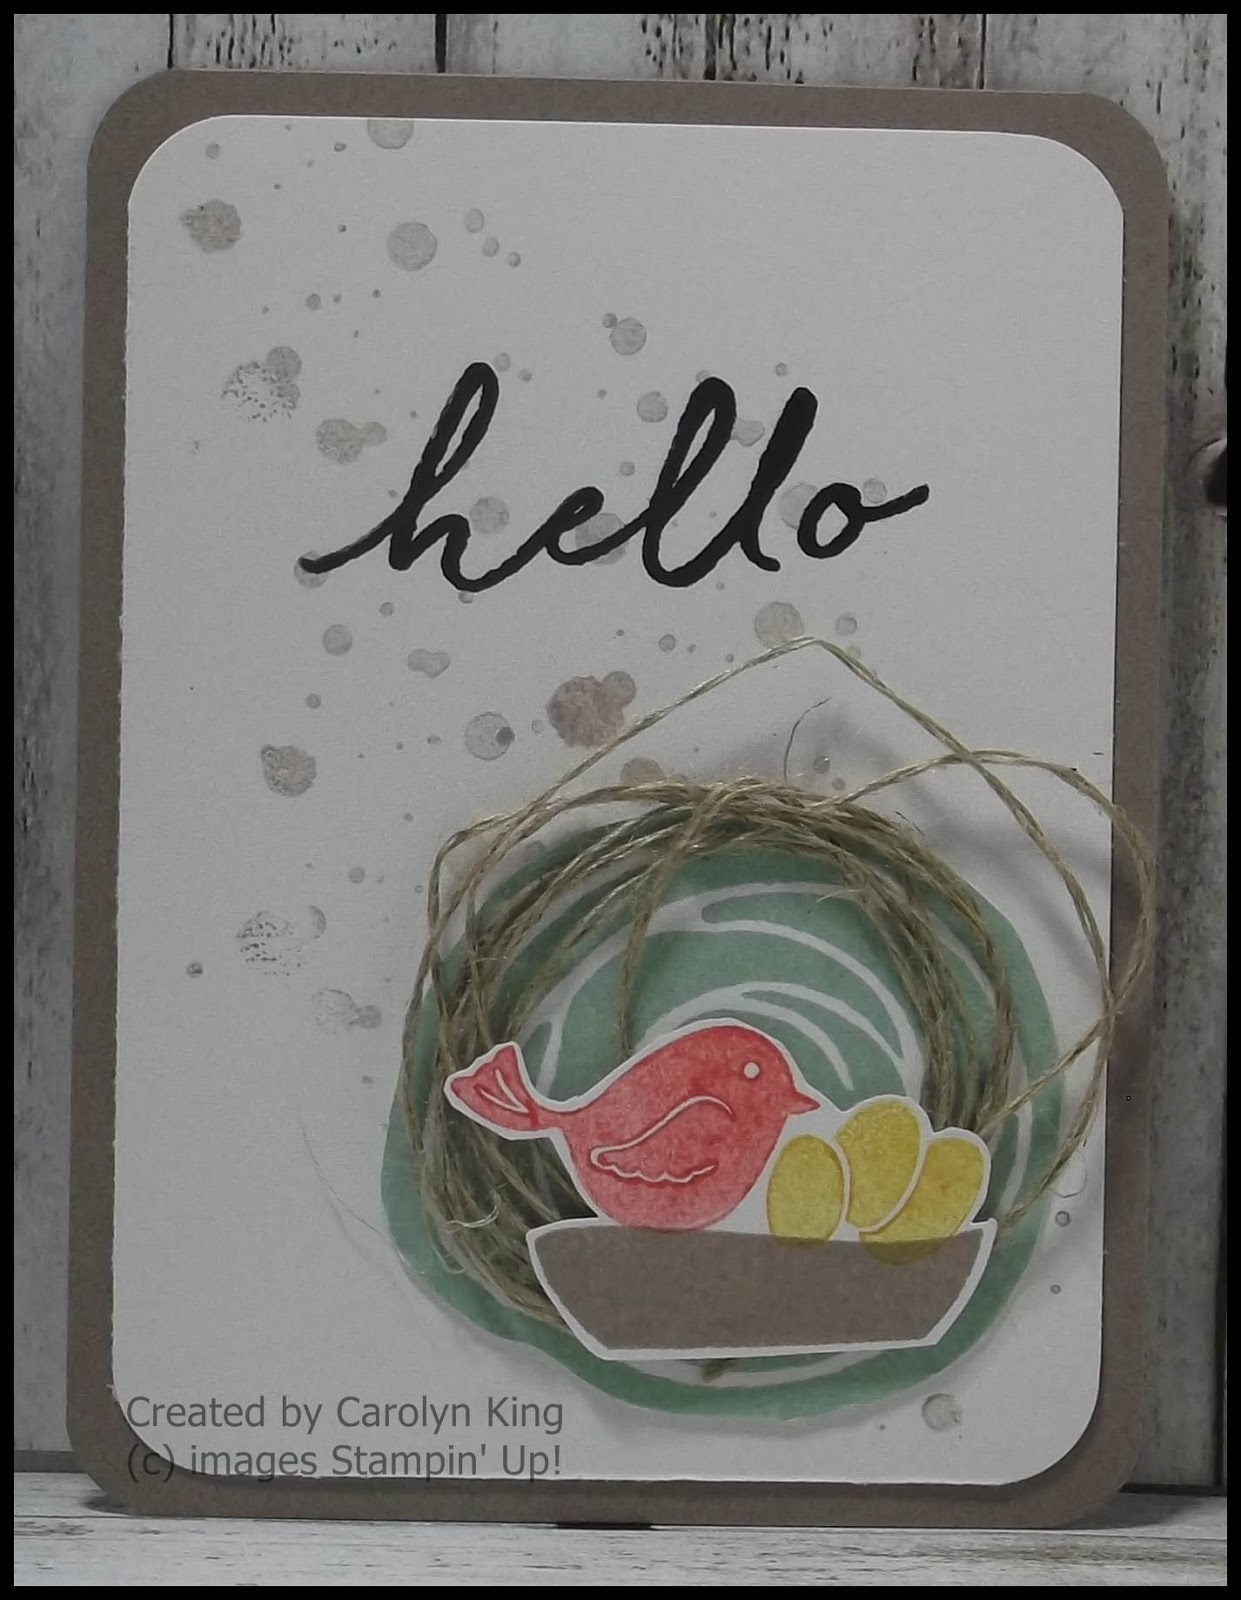
This is the card and my ladies made in class yesterday along with the pillow box that they decorated to match.


The daisy was stamped with Soft Suede ink on Whisper White cardstock and coloured with the Clear Wink of Stella pen.  


A piece of Wood Textures Designer Series Paper was cut out using the largest Stitched Shaped Square and layered onto a Basic Black Scalloped Square made using the Layering Squares Framelits. 

The sentiment is from the Balloon Celebration stamp set.


The pillow box was decorated the same as the card, with a piece of Gold Cord added behind the flower and leaves.  The leaves were cut using the Bouquet Bunch Framelits and the May Flower Framelits.

These pillow boxes are perfect for a small piece of jewelly, a gift card or some lotto tickets.  You get 10 in a packet for only $8.75 AUD.


If you live in Australia 
you can get all the supplies you need

 for this project from me. 

You can place an order online oContact Me and place an order.


Thank you for visiting.

Carolyn
 

Friday, 8 June 2018

Shades of Blue

The new 2018-2020 In-color Blueberry Bushell is perfect for making cards for the boys and men in our lives.  


I have added Balmy Blue, Silver and Whisper White as the colour combination for my card.  The background was stamped using the star images from the Balloon Celebration stamp set and Blueberry Bushel ink.  The Happy Birthday has been die cut from Balmy Blue cardstock using the Happy Birthday Thinlits.  These pieces were layered on top of two strips of Silver Foil Sheet and two pieces of the Blueberry Bushel Designer Series Paper from the 2018-2020 In-color Paper Pack.

The stars are from my stash (I had punched them out ages ago with a retired punched from my scraps of Silver Foil Sheet - waste not want not).  You could use the new Twinkle Builder punch to create the stars.  This punch is on my wish list, but I will be getting it soon.

If you live in Australia 
you can get all the supplies you need

 for this project from me. 

You can place an order online oContact Me and place an order.


Thank you for visiting.

Carolyn
 

Friday, 30 December 2016

Stained Glass Technique

Hi everyone, sharing a quick post today on the Stained Glass Technique.  There is a great tutorial on Splitcoaststampers here.


I embossed my image, from the 'Touches of Texture' stamp set using Silver as I liked the finished look better than the White embossing powder.  The sentiment is from the 'Balloon Celebrations' stamp set.


The image was coloured using Wisteria Wonder, Elegant Eggplant, Old Olive and Always Artichoke Stampin' Write Markers.

The card base is Wisteria Wonder and the patterned paper is from the Subtles Designer Series Paper Stack.  A few silver metallic enamel dots were added to finish the card.

You can get all the supplies you need for this project from me.

You can place an order online and join in the fun with the On-line Club or Contact Me and place an order.


Thank you for visiting.

Carolyn

Sunday, 10 July 2016

Hot Chocolate and Cookies

Hi everyone, as promised this is the second project that the ladies made at the fundraiser for Junior Diabetes Research yesterday.  It is a box that holds two hot chocolate sachets and a two pack of Anzac cookies.


I used the Moroccan Designer Series Paper along with Delightful Dijon, Basic Black and Very Vanilla cardstock.  The stamp set is Balloon Celebration, it just had the perfect words for this little box and goodies.  You could change up the hot chocolate for coffee.


The box when it is opened.  I made the diamond shapes by using the Layered Squares Framelits, making sure that the one on the bottom was positioned so that it acted as a closure for the box.

Do you like this project?  You can get all the supplies for this project from me.  There is an added bonus for every $90 you spend from 7-31 July you will get a $9 bonus coupon valid 2-31 August. Do not miss out!


GET ALL THE DETAILS HERE!!!

You can place an order online and join in 
the fun with the On-line Club or Contact Me and place an order.


Thank you for visiting

Carolyn

Tuesday, 19 April 2016

Sneak Peak - Display Board Samples for Sydney On Stage Local

Hi everyone, as promised I am sharing the cards and projects that I made for the display boards at the Sydney On Stage Local event.

I received a new stamp set, inks, cardstock, ribbon (love this new ribbon) and designer series paper from Stampin' Up! which I had to use along with any other carrying over stamp sets and products.  I was requested to stamp in the 2015-17 In Colors, making four samples each of the five colours.

I made three cards and one Project Life filler card for my samples.

Cucumber Crush


Mint Macaron


Tip Top Taupe


Delightful Dijon


Watermelon Wonder


Hope you enjoyed this little sneak peak.

Thank you for visiting.

Carolyn

Saturday, 20 February 2016

Grateful Bunch Trio

Hi everyone, do you like getting good value for your purchases? Then you should check out the Grateful Bunch Stamp Set and the Blossom Bunch Punch bundle that you can get for $57.75 plus postage and handling.

I have made a trio of cards using this bundle along with the Balloon Celebration and And Many More stamps sets which I used for the sentiments.


I have used a colour scheme of Basic Black, Sahara Sand and Whisper White for all three cards.


The background for this card was made by stamping the large flower in Archival Black ink randomly over a piece of Whisper White cardstock, colouring with the Sahara Sand Stampin' Write Marker and then going over the flowers with the Clear Wink of Stella pen.  It does not show in the picture but the flowers have a beautiful shimmer.


All the small flowers were stamped with Archival Basic Black ink, coloured with the Sahara Sand Stampin' Write Marker and then Clear Wink of Stella pen added before punching out with the Blossoms Bunch Punch.

Want to make these cards yourself?

You can get all the supplies you need by shopping with me.
  You can place an order online and join in 
the fun with the On-line Club or Contact Me and place an order.

SHOP WITH ME!

Thank you for visiting

Carolyn

Friday, 12 February 2016

Rose Red Balloons

Hi everyone, the inspiration for my card today has come from a card made by Chantal De Kaste who is a member of the Stampin' Up Artisan Design Team.  Have you done the Artisan Design Team Blog Hop?  If you haven't check it out as these talent Artisans create some amazing projects.


I cased the watercolour background and the small stars, rhinestones and other embellishment ideas from Chantal.  I used Blushing Bride and Rose Red re-inkers with an aqua painter to create the watercolour background on a piece of watercolour paper.  I added a piece of Basic Black diagonal striped paper from the Neturals Designer Series Paper Stack with a Rose Red cardbase.  The balloons were stamped in Blushing Bride and Rose Red.   I off stamped the Rose Red for the solid coloured balloons.

This was a fun background to create.

Thank you for visiting.

Carolyn

Thursday, 11 February 2016

It's a Party because it is Your Birthday

I am playing along with the sketch challenge at the Paper Craft Crew Challenges  this week.

Sketch Challenge 181 for the Paper Craft Crew.

I have used the "It's My Party" Designer Series Paper Stack for the pattern paper on my card.  I had this pack out on my table from yesterday's project and when I saw the sketch I thought that this paper would be perfect to create my card.


The centre panel was created using the Balloon Celebration stamp set.  I stamped the dotted circle image randomly over the Whisper White cardstock using Melon Mambo, Mint Macaron and Crushed Curry.  The sentiment is from the same stamp set, stamped with Archival Black and then punched out with the Washi Label Punch.

Thank you for visiting.

Carolyn

Wednesday, 10 February 2016

Balloon Celebration

I recently attended a fundraiser day held by Pat Carr where we had a great time stamping and catching up with friends.  We made some terrific projects and raised funds for the Cancer Council while we where at it, what a great day.  Thank you Pat for hosting the day.

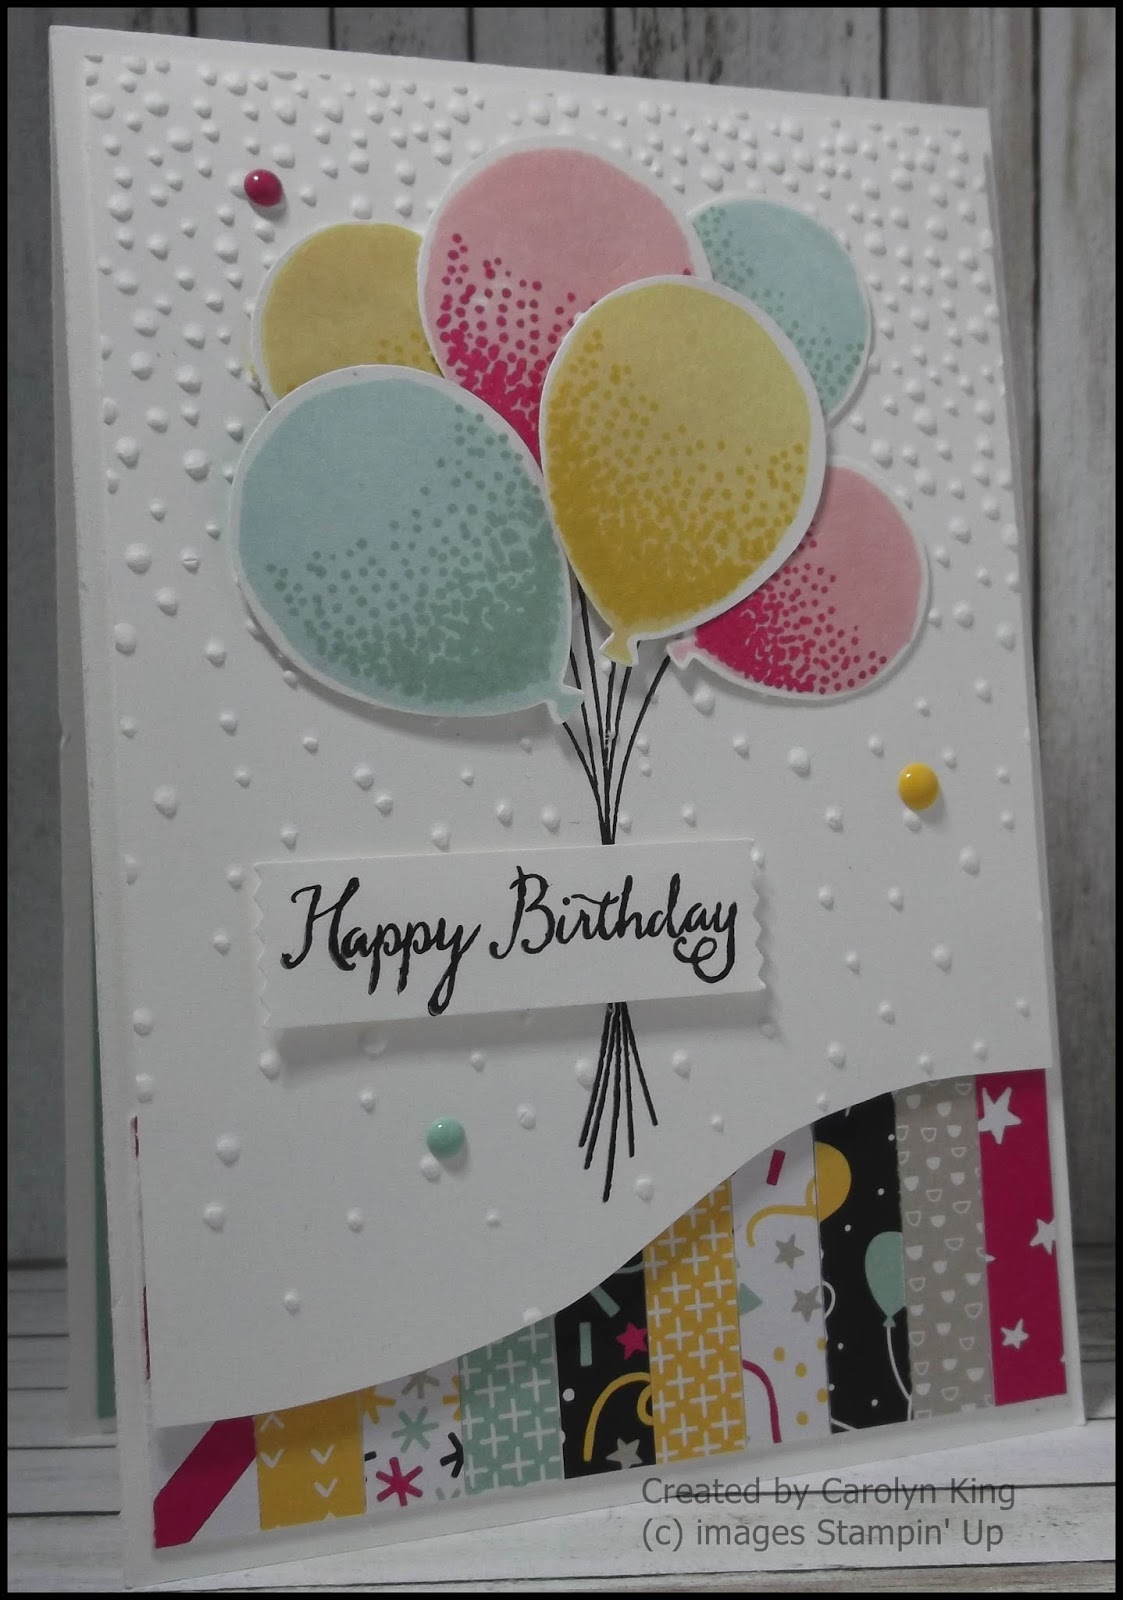
My first card is a cross between two cards that we made on the day, I have used the colours and the layout of the balloons from one card and the paper pieced strip section on the bottom from another card.  I really liked this idea of using up all those little strips of paper that you seem to have left over.


My second card is also using the same balloon layout and colours but this time I attached 2 cm strips of Designer Series Paper on the background piece.    This is another great way of using up strips of paper.  I love the colour combination of Blushing Bride/Melon Mambo, Soft Sky/Mint Macaron and So Saffron/Crushed Curry used on the balloons they just pop (no pun intended) on the Whisper White.


The patterned paper is from the "It's My Party" Designer Series Paper Stack.  This pack is one that keeps on giving, with 48 sheets of 12" x 12" with 4 pages each of 12 doubled-sided designs.  It is perfect for birthday invitations, cards, favours and decorations.

Thank you for visiting.

Carolyn

Saturday, 16 January 2016

Enjoy the Little Things ....

Do you have someone that you have not seen in while and would like to catch up with or someone that you have met socially and would like to get to know better.  How about sending them a little invitation to come and sit together and drink some tea.  What a great way to extend the hand of friendship.


For my card I have used the 'Twisted Card' tutorial by KellyJean Gettelfinger that you can find on Splitcoast Stampers.

I had already made my cardbase using Tip Top Taupe cardstock and the matching Designer Series Paper from the Sale-A-Brations Catalogue "Perfectly Artistic" when I decided to use some Twinings tea bags "Australian Afternoon", very apt as it is afternoon here in Perth, Western  Australia.  The colour Pumpkin Pie went perfectly with the colours in the tea bag covers, so I used this to create the kettle, tea cup and flowers.

Back to the "Perfectly Artistic" Designer Series Paper - Do you like it? Do you want a chance to get it for free?   If you live in Australia then just place an order with me for $90 and it is yours. You can order online here or contact me here

I added some Tip Top Taupe Dotted Lace Trim (this I trimmed down and used the other piece for the tag) to the back of the Designer Series Paper on the pocket before I adhered it to the pocket front. For the inside pocket I created a little tag using the stamp set "Enjoy the Little Things", the "Lots of Labels" Framelits and the 1/8" handheld punch finishing with the piece of Tip Top Taupe Dotted Lace Trim and some Linen Thread.  The flowers were made using the punch from the "Itty Bitty Accents" Punch Pack with some Rhinestones added for a little bit of bling.

The kettle is made using Pumpkin Pie cardstock and the "Cups and Kettle" Framelits and the sentiment is from the "Ballon Celebration" stamp set.  A little more bling was added with the Rhinestone Trim on the kettle lid.


The inside of the card is decorated with more die cuts from the "Cups and Kettle' Framelits, flowers and the words from the "Balloon Celebrations" stamp set.  These were stamped onto Tip Top Taupe cardstock with Black Archival ink and punched out using the Word Window Punch.  I did try stamping direct onto the Designer Series Paper but the words got a bit lost.  The tea bags are held in place with a little bit of Washi Tape on the back.

Send someone a little surprise invitation today.

Thank you for visiting.

Carolyn

Monday, 21 December 2015

Time for Coffee ...

You know when you have an idea in your head but it does not seem to come together, well this is what happened to me recently.  I purchased a box of Robert Timms Coffee Bags intending to design gift packaging to put them in.  Well I just never seemed to find the right stamps or design.  You can imagine my squeal when I opened the new Occasions Catalogue and found the Cups and Kettles Framelits dies and the stamp sets Timeless Textures and Balloon Celebrations.  Oh what bliss!


The gold embossing did not show up very well in the photo, but it looks great against the Early Espresso Cardstock.  I have put the measurements for the coffee folder at the end of this post, they are for the Robert Timms Coffee Bags available in Australia. I am not sure if they are the same size in the big wide world, so you may need to adjust your measurements to suit.  I cased the Occasions Catalogue on page 29 for the stamping, I just changed the tea cup for the coffee cup.


I made a matching 3"x 3" gift card, carrying on the wording from the coffee folder.  I also made a small envelope to fit the card, using the Envelope Punch Board


The inside of the card is very simple with the sentiment Happy Birthday.


Measurements for the Coffee Folder

Early Espresso Cardstock 12cm x 26cm
Gold Satin Ribbon 45cm
Gold Foil Sheet 8cm x 11.5cm (for front)
Crumb Cake Cardstock 7.5cm x 11cm (to be stamped for front)

Score the Early Espresso Cardstock on the 26cm edge at 4cm, 12.5cm, 13.5cm and 22cm.  Fold and burnish all score lines.

Add tape to the top and bottom (on the inside) of the 4cm flaps, when adhered down these create the pockets for the Coffee Bags on the inside of the folder.
Add the ribbon to the folder, and then do the stamping and adhere this piece to the Gold Foil Sheet mat and then adhere this to the front over the ribbon.

Thank you for visiting.

Carolyn