Showing posts with label Floral Gallery Dies. Show all posts

Sunday, 31 July 2022

Freshly Made Sketches #546 - A Sketch by Amy

Hi everyone, I am playing along this week with the challenge at Freshly Made Sketches.


The challenge this week is a great sketch by Amy.


I have used the Sequins Dies, Brushed Metallic Cardstock, Basic Black and Very Vanilla Cardstock to make my card.   The sentiment is from the Art Gallery stamp set which has been white heat embossed and die cut using the Floral Gallery Dies.

Hope you enjoy this project.

Thank you for visiting.
Carolyn

Saturday, 9 July 2022

Freshly Made Sketches #543 - A Sketch by Cecile

Hi everyone, I am playing along with the challenge this week at Freshly Made Sketches.  


The challenge is to create a project using the sketch by Cecile.


I have used the Rings of Love Designer Series Paper, Art Gallery stamp set, Floral Gallery dies, Forever Flourishing dies and Stylish Shapes dies.

The Soft Sea Foam die cut pieces behind the patterned paper square were die cut using the Forever Flourishing dies.  I cut two pieces to extend the leaf piece behind the central square.  

I have used my favourite piece of patterned paper with all the birds, branches and leaf images. This was die cut using the largest square stitched die in the Stylish Shapes dies and then matted onto a piece of Night of Navy Cardstock.

The sentiment is from the Art Gallery stamp set and this was stamped using Black Memento ink on a piece of So Saffron Cardstock and the die cut using the label die from the Floral Gallery dies.

I hope you enjoyed this project.

Thank you for visiting.
Carolyn

Monday, 28 March 2022

Saying Goodbye to Just Jade

Hi everyone, sharing a card I made using the colour Just Jade from the 2020-2022 In Color Designer Series Paper Pack which is retiring.  I used a colour scheme of Early Espresso, Just Jade and Basic White.

I used the Forever Fern stamp set, stamping the leaves and foliage in Evening Evergreen, Soft Suede and Just Jade using the Forever Flourishing Dies.  A foliage piece was die cut using one of the the Brushed Metallic Foil Sheets.  A double Linen Thread bow as added to finish the foliage spray.

The sentiment is from the Art Gallery stamp set which was white heat embossed on Early Espresso cardstock and die cut using the Floral Gallery dies.

If you live in Australia

you can get all the supplies you need
for this project from me.

You can place an order online or Contact Me and place an order. 


Thank you for visiting.
Carolyn

Tuesday, 8 February 2022

Simply Marbelous 6" x 6" Designer Series Paper - Dwellingup Project 1

Hi everyone, I had a crafting weekend away with some friends at Dwellingup a couple of weeks ago and I will be sharing some of the projects I made with you over the next few weeks.

This project uses the Blushing Bride patterned paper from the Simply Marbleous 6" x 6" Designer Series Paper Pack.


I cut the patterned paper into 3cm x 7.6cm strips.  You will get 10 strips if you do one horizontal cut at 7.6cm and then cut this into five 3cm pieces.  You will have a very thin piece left on the end which I discarded.  You will get three cards from the one 6" x 6" piece of patterned paper, with one strip left.  I kept this because if you cut another sheet at 7.6cm and cut it into 3cm strips you can make 2 cards by using this left over piece (hope that makes sense).

The decoration was pretty easy, I used the new Bough Punch, the Daisy and Medium Daisy punches, Stitched So Sweetly dies, Art Gallery stamp set and the Floral Gallery Dies.

Hope you enjoyed this project.

Thank you for visiting.

If you live in Australia

you can get all the supplies you need
for this project from me.

You can place an order online or Contact Me and place an order. 


Thank you for visiting.
Carolyn

Monday, 7 February 2022

Simply Marbleous

Hi everyone, sharing two cards made with my left over bits from yesterday's Just Add Ink Challenge post.  

I used the Simply Marbleous 6" x 6" Designer Series Paper Pack, selecting the Misty Moonlight/Balmy Blue piece of patterned paper and Misty Moonlight cardstock.  Die cuting these shapes is a great way to use up the scraps used from other projects.


These cards are also great for the men folk in our lives.  I never seem to have enough of these type of cards in my stash.

Hope you enjoyed by scrappy leftover cards.

If you live in Australia

you can get all the supplies you need
for this project from me.

You can place an order online or Contact Me and place an order. 


Thank you for visiting.
Carolyn

Sunday, 6 February 2022

Just Add Ink Challenge #589 - "Just Add Minimalist"

Hi everyone, I am playing along with the Just Add Ink Challenge this week "Just Add Minimalist".  I thought that meant a card with very little stamping or embellishment, however when I read the definition of 'Minimalist' I realised that I could use repitition of a shape or element.  This is my take on the challenge.


I use the Beautiful Shapes Dies for the Hexagons which I cut from the Simply Marbleous 6" x 6" Designer Series Paper pack and Misty Moonlight cardstock.

The sentiment is from the Art Gallery stamp set, I white heat embossed this before die cutting using the Floral Gallery dies.  I finished the card with some of the Classic Mat Dots.  You could put some twine or trim behind the sentiment strips, but I was keeping it 'Minimalist' so left this off.

I hope you enjoyed this project.


Yay, I won this week's Just Add Ink Challenge.

Thank you for visiting.
Carolyn

Friday, 19 November 2021

Freshly Made Sketches #512

Hi everyone, I am playing along with this week's Freshly Made Sketches challenge.


The challenge is to follow the sketch while keeping your project clean-lined and fresh.

For my card I have used the Art Gallery stamp set along with the matching Floral Gallery Dies.  The flower and leaf images were stamped with Old Olive, Daffodil Delight and Bumblebee ink. The sentiment was White heat embossed on a strip of Basic Black cardstock.

I really like this sketch as it is perfect for using up the small strips in your stash.  I had a small strip of Cinnamon Cider pattern paper from the 2020-2022 Designer Series Paper pack and also a small piece of Paper Lattice left from a previous project that were perfect for this card sketch.

To finish my card I used some of the Matte Decorative Dots.

Hope you enjoyed this project.

Thank you for visiting.
Carolyn

Thursday, 18 November 2021

The Paper Players PP567 - Colour Challenge

Hi everyone, I am playing along this week with the Colour Challenge at The Paper Players.  The challenge is to create a project using the colours of Grey, White, Black and Silver.


I have used a piece of patterned paper for the background from the Peaceful Place Designer Series Paper Pack cut at 7.5cm x 11.8cm with the Basic Black mat cut at 8cm x 12.3cm.  The circles were cut using the Gingerbread Dies and the Layering Circles Dies. The sentiment is from the Art Gallery stamp set which was White heat embossed before die cutting with the matching Floral Gallery Dies.

Hope you enjoyed this project.

Thank you for visiting.
Carolyn

Sunday, 7 November 2021

Freshly Made Sketches 510

Hi everyone, I am playing along this week with the challenge at Freshly Made Sketches. The challenge is to follow the sketch below while keeping the project clean-lined and fresh.

I decided to use a black and white theme with a touch of colour in the Cork Specialty Paper.


The flowers were created using the Pierced Blooms Dies, with the sentiment from the Art Gallery stamp set which I white heat embossed and die cut with the matching Floral Gallery Dies.

The Cork Specialty Paper was cut using the Layering Circle Dies.  I embossed the Whisper White piece on the Basic Black mat with the Tasteful Textile 3D embossing folder.  The Designer Series Paper is from the Pattern Party Designer Series Paper Pack.

Hope you enjoy this project.

Thank you for visiting.
Carolyn

Wednesday, 3 November 2021

Sunday Stamps SSC269

Hi everyone, I am playing along this week with the challenge at Sunday Stamps.  The challenge this week is a fun colour challenge using the graphic below as inspiration.


I have used the Pierced Bloom Dies, Art Gallery stamp set and Floral Gallery Dies to create my card. 


The patterned paper is from the Pattern Party Designer Series Paper Pack with flowers created from Daffodil Delight, Crushed Curry, Smoky Slate, Old Olive and Basic Black cardstock using the Pierced Blooms Dies.

The 'Happy Birthday' from the Art Gallery stamp set was white heat embossed before die cutting with the matching die from the Floral Gallery Dies.

Hope you like this project.

Thank you for visiting.
Carolyn

Monday, 9 August 2021

Hand-Penned Memories & More Card Pack - Card 6

Hi everyone, I have been having another little play making cards using the Hand-Penned Memories & More Card Pack, this is a continuation of the cards I posted in early July.

The Memories & More Card Packs are perfect for memory keeping but they are also perfect for card making.


This card is made from one of the 6" x 4" cards which I cut in half, used one half on my card and fussy cut the flower from the other piece.

The sentiment is from the Art Gallery stamp set and die cut using the matching Floral Gallery Dies.

If you live in Australia

you can get all the supplies you need
for this project from me.

You can place an order online or Contact Me and place an order. 


Thank you for visiting.

Carolyn

Sunday, 4 July 2021

Art Gallery - JDRF Card 8

Hi everyone, sharing the last of the projects from the Juvenile Diabetes Research Foundation fundraiser held 26 June.

This card uses the Art Gallery stamp set and the coordinating Floral Gallery Dies.


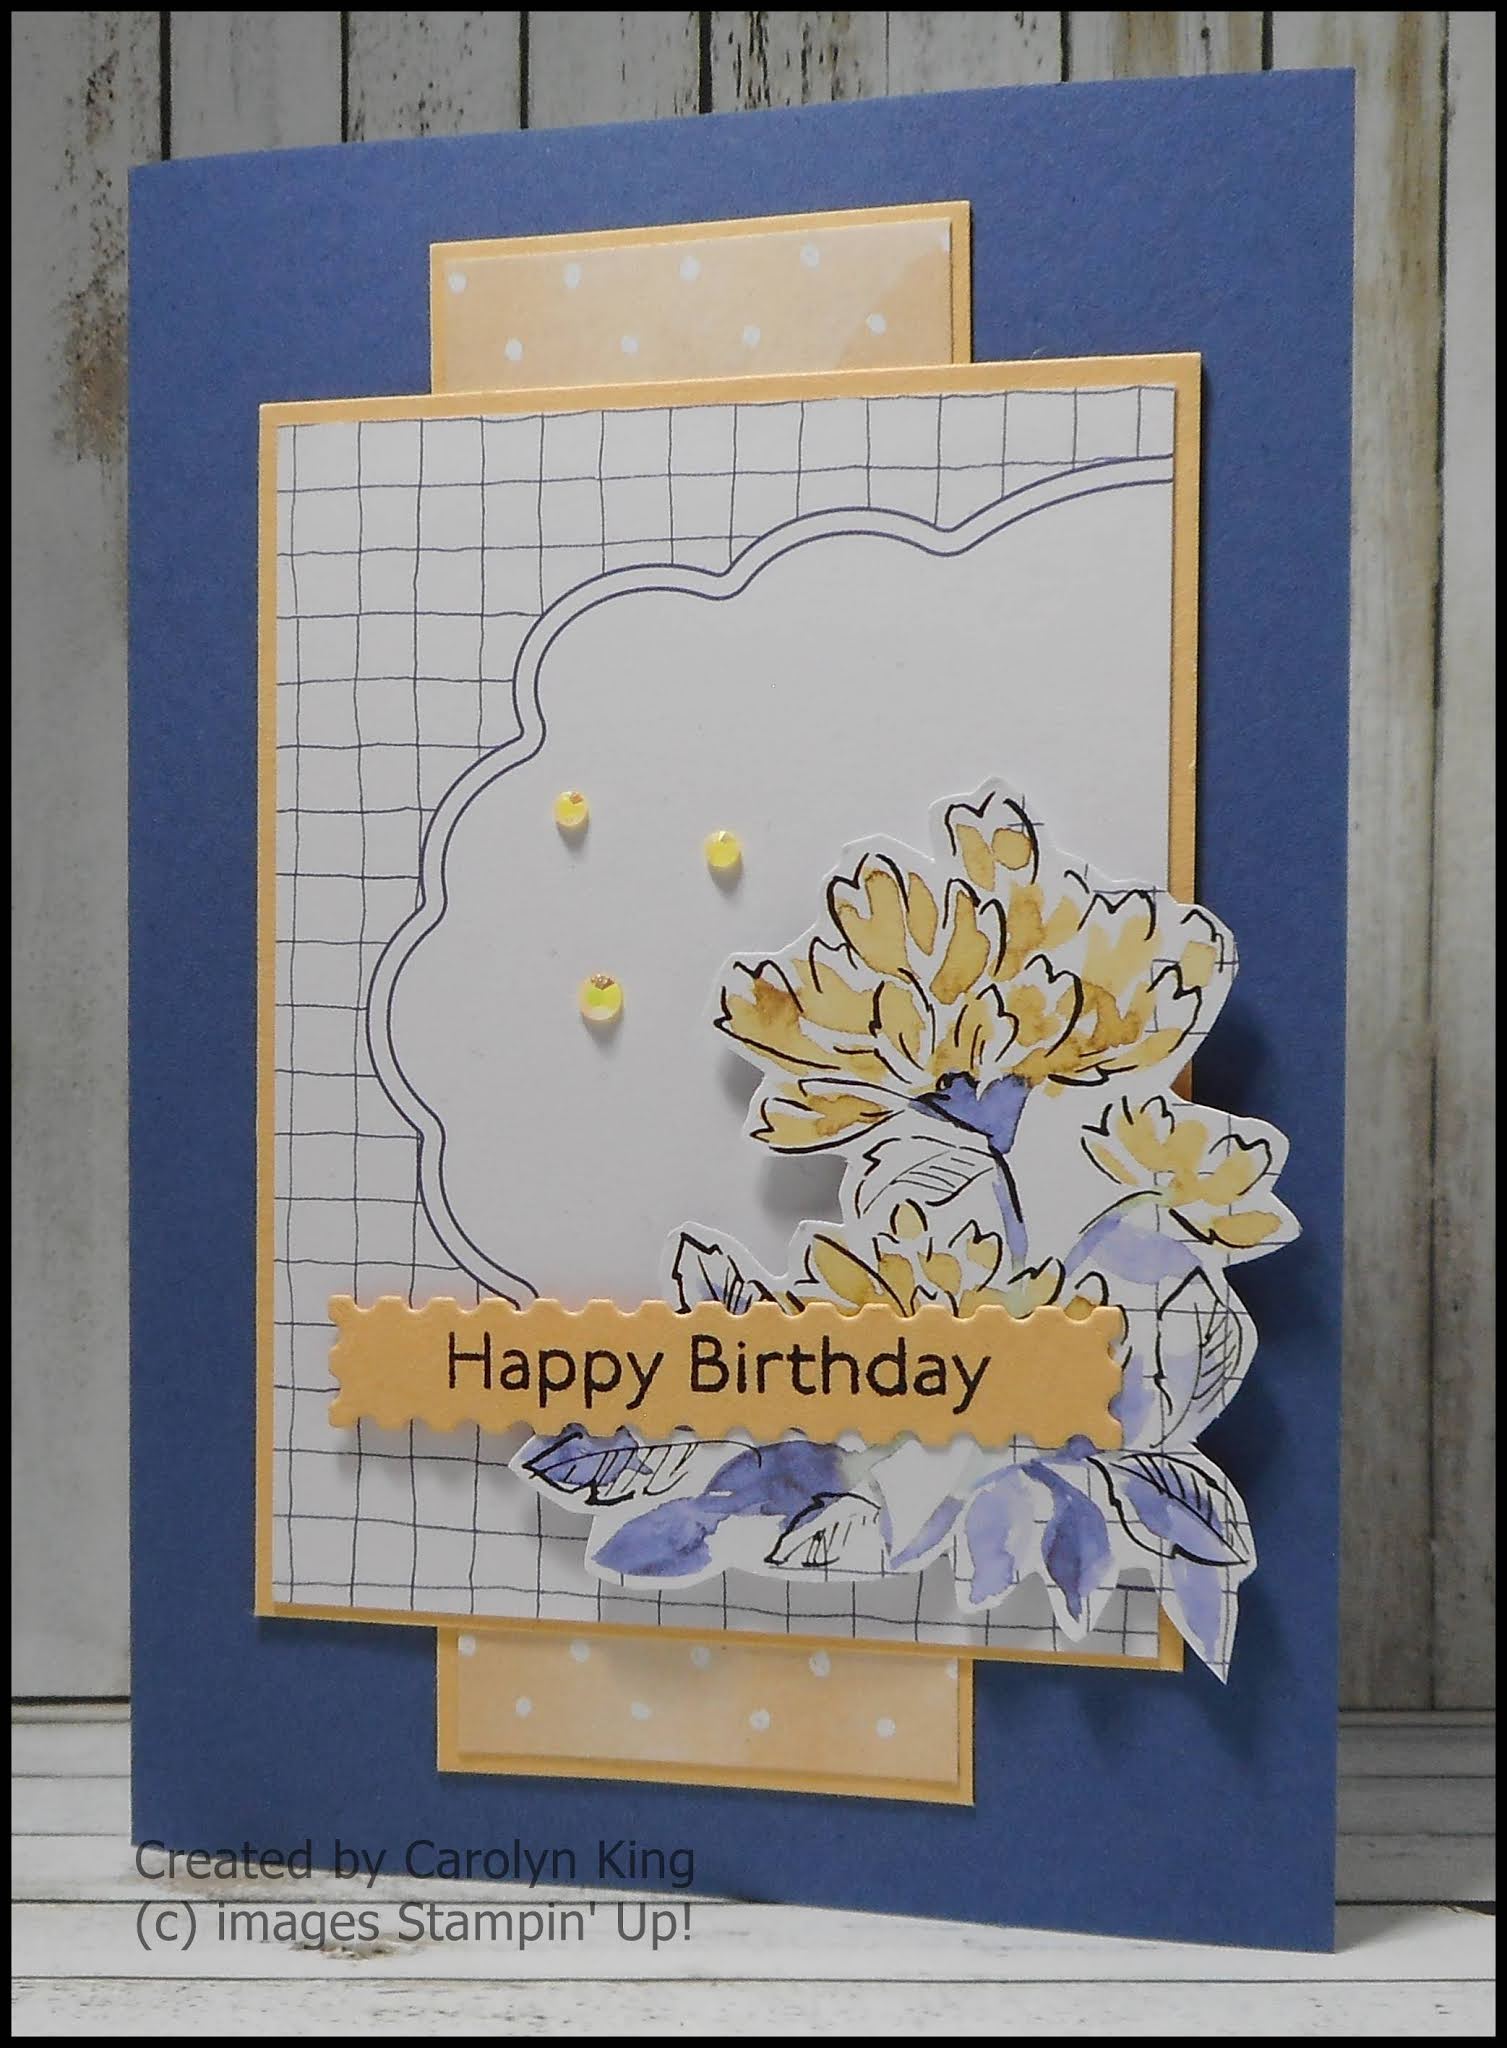
I cased myself for this card on one that I had recently made using the Hand-Penned Memories & More Card Pack.  I recreated this card using the Pattern Party Designer Series Paper and the Art Gallery Stamp set.

To make this card:

1.         Fold card base.

2.         Adhere the Black and White striped Designer Series Paper (6.5cm x 10.5cm) and the Granny Apple Green Designer Seires Paper (8.3cm x 10.5cm) to the card front.

3.         Adhere the Basic Black cardstock strip (1cm x 10.5cm) over the join of the two pieces of Designer Series Paper.

4.         Adhere the Daffodil Delight patterned piece of Designer Series Paper (1.2cm 7.6 cm) to the bottom of the Black and White Random Grid Designer Series Paper piece (5.1cm x 7.6cm).  Adhere this to the Basic Black mat cut 0.4cm larger and adhere to the card front with Dimensionals.

5.         Stamp the Leaf/Flower image first with Granny Apple Green on a piece of Basic White cardstock and die cut.  Make sure you clean the stamp off before stamping again with Daffodil Delight and die cut.  Using the small flower image stamp accents on the flowers using Mango Melody.  Snip off the flowers from the stem and adhere to the top of the Granny Apple Green stamped piece using Dimensionals.  Adhere to the card front on the centre panel.

6.         Stamp the sentiment using Black Memento ink on a piece of Daffodil Delight cardstock and die cut.  Adhere to the card front using Dimensionals.

7.         Add some Rhinestones to finish the card front.

8.         For the inside die cut a piece of Daffodil Delight using the stitched scallop die from the Penned Flowers Dies and adhere to the bottom of the Basic White piece cut at 9.5cm x 13.8cm and then adhere this to the Basic Black mat cut at 10cm x 14.3cm.  Adhere this to the card inside.

If you live in Australia

you can get all the supplies you need
for this project from me.

You can place an order online or Contact Me and place an order. 


Thank you for visiting.

Carolyn

Wednesday, 16 June 2021

Hand- Penned Memories & More Card Pack - Card 4

Hi everyone, sharing a very quick project made using the Hand-Penned Memories & More Card Pack.


I have matted the 3" x 4" Hand-Penned Memories & More Card on a piece of Basic Black Cardstock before adhering to a Soft Succulent card base.  

The sentiment is from the Art Gallery stamp set that was White heat embossed on a piece of Basic Black Cardstock before die cutting with the Floral Gallery Dies.  A piece of White Baker's Twine was adhered behind the sentiment panel that was adhered to the card front using Dimensionals.  A few Rhinestones were added to finish the card.

If you live in Australia

you can get all the supplies you need
for this project from me.

You can place an order online or Contact Me and place an order. 


Thank you for visiting.

Carolyn

Sunday, 13 June 2021

Hand-Penned Memories & More Card Pack - Card 1

Hi everyone, it has been awhile since I have posted.  I have had a little break from posting as I have been getting organised for a Junior Diabetes Research Foundation fundraiser that I am holding on the 26 June, 2021.   My beautiful Mum also passed away recently and I had a lot of other matters to attend to so creating got put on the back burner.

For today's post my card uses the Hand-Penned Memories & More Card Pack and the Pattern Party Designer Series Paper Pack.  I will be posting more cards this week using the Hand-Penned Memories & More Card Pack, so stayed tuned in.

The Memories & More Card Packs are designed for Memory Keeping, however they are also perfect to make cards with.  


I cut the piece of Pattern Party Designer Series Paper at 10.5cm x 14.8cm.  I then cut a 6.5cm piece off one end flipped this over to show the reverse side of the paper.  I adhered the two pieces to a card base and added a strip of Basic Black Cardstock to cover the join.   

The Hand-Penned Memories & More Card that I have used for the centre panel is a 3" x 4" card with the same image at top and bottom.  I cut this in half, making two pieces 3" x 2", so if you use the two cards in the pack you can make 4 of these cards.  I matted this onto a piece of Basic Black Cardstock and adhered this to the card front using Dimensionals.

The sentiment is from the Art Gallery stamp set and was stamped using Black Memento ink on a piece of Daffodil Delight Cardstock.  This was die cut using the matching die from the Floral Gallery Dies.  The sentiment was then adhered to the card front using Dimensionals.  Some Rhinestones were added to finish the card front.

If you live in Australia

you can get all the supplies you need
for this project from me.

You can place an order online or Contact Me and place an order. 


Thank you for visiting.
Carolyn