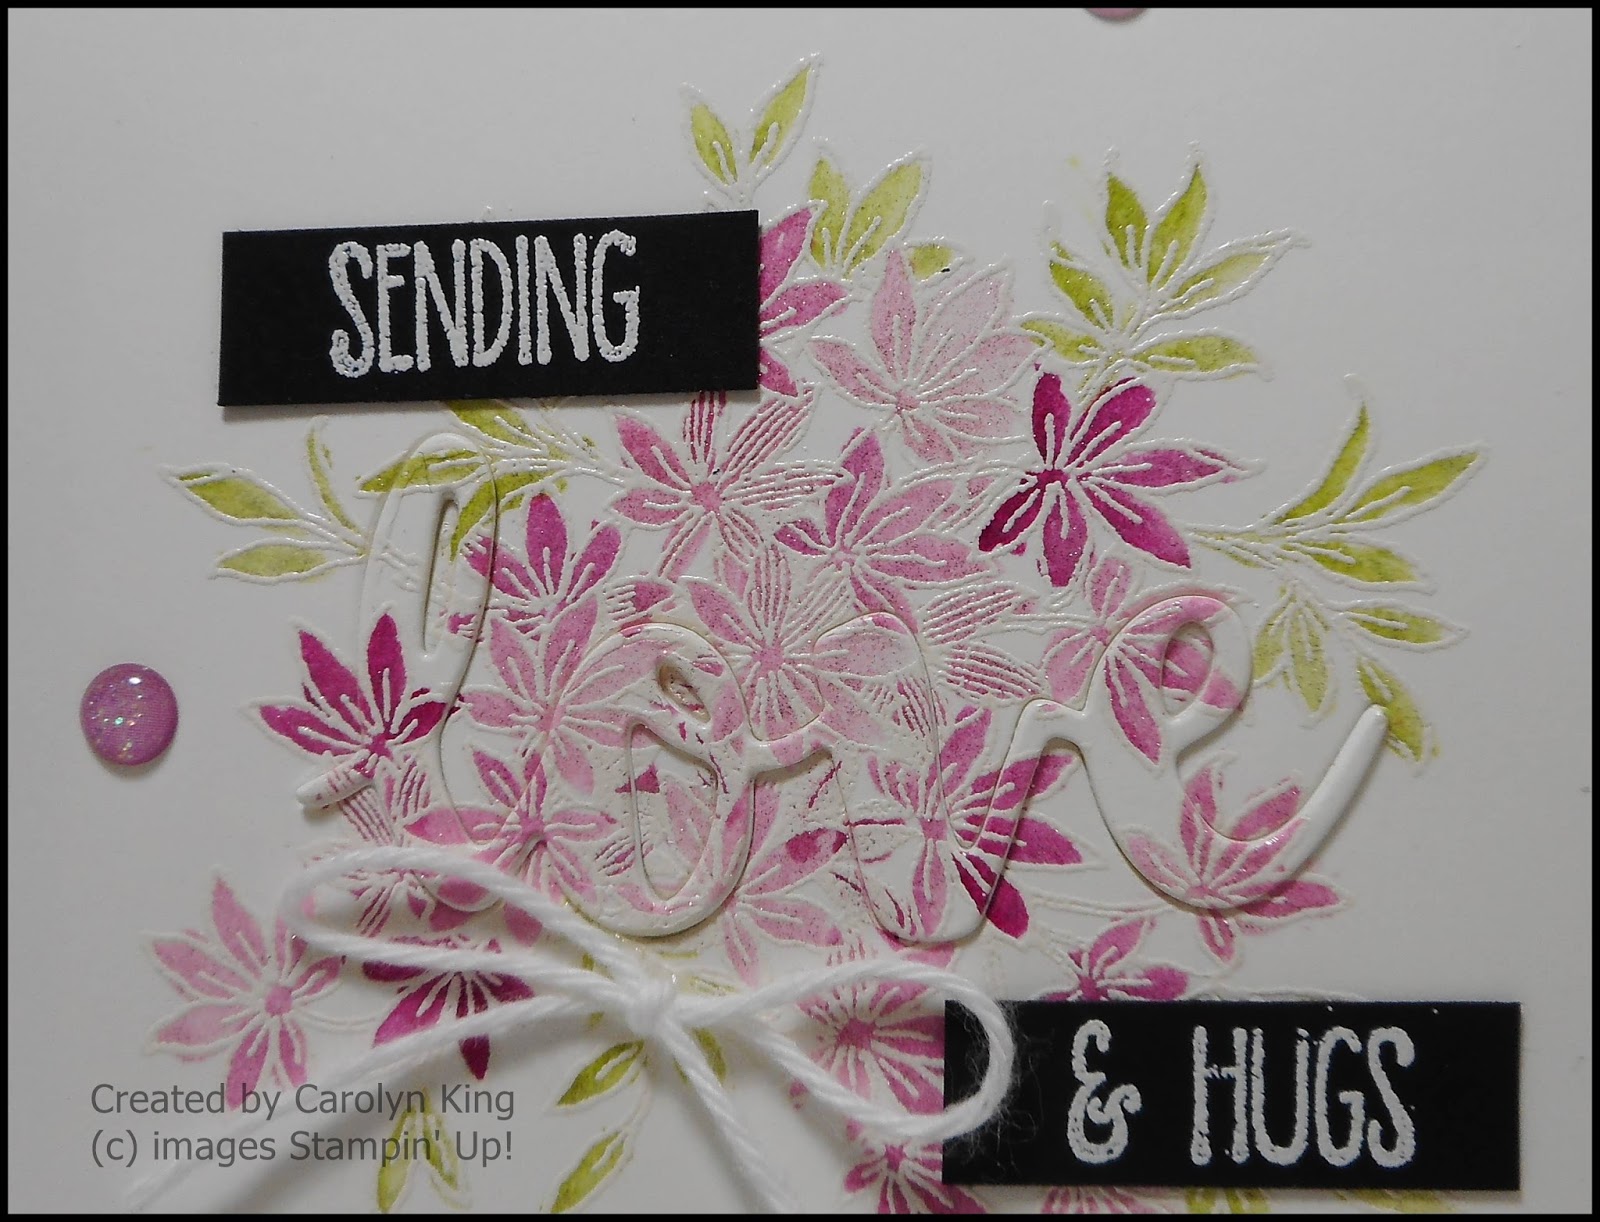
Hi everyone, sharing the card instructions for the "Awesomely Artistic Classes in the Mail" set I made last December.
I have had numerous requests to sell the instructions separately but decided to post the instructions and cards here for everyone to enjoy. The cards are all made using a standard size A2 cardbase.
Card 1
Stamp
the floral image using the Basic Black Archival ink onto the Whisper White
cardstock circle piece. Colour the
flowers using the Blackberry Bliss and Mossy Meadow Classic Stampin’ Pads. Adhere this to the Blackberry Bliss cardstock
circle.
Adhere
the Designer Series Paper to the Silver Glimmer Paper strip and adhere this to
the embossed Whisper White cardstock piece.
Adhere this to the Blackberry Bliss mat and then adhere this to the
Whisper White card base.
Adhere
the circle onto the card front, over the Designer Series Paper strip, add the
word “Celebrate” and 3 rhinestones.
Stamp the dragonfly image on a piece of Whisper White cardstock with
Blackberry Bliss ink and hand cut out.
Put a small piece of dimensionals in the centre of the dragonfly and
adhere to the card front.
For
the inside stamp the dragonfly image with Blackberry Bliss onto the Whisper
White cardstock and then adhere this to the Blackberry Bliss mat and the adhere
this to the inside of the card.
Card 2
Create a mask using a piece of Window Sheet and cut out 4 squares evenly using the smallest sqare in the Squares Collection Framelits set. Take
the mask and position over the piece of Whisper White cardstock the same
size. Sponge Blackberry Bliss ink
lightly in the squares and then harder on some edges and corners in each square
(do not make the ink too dark as you will be stamping over this). With the mask still in place stamp the dragonfly
in 3 of the squares using Blackberry Bliss ink.
Remove the mask and stamp the dragonfly in the top left corner.
Using
the 2-way glue pen or wet glue apply the glue to the wings of the dragonflies
and add the Dazzling Diamonds Glitter.
Adhere
the embossed Whisper White 1 ¼” strip onto the Blackberry Bliss 1 ½”
strip. Adhere this across the bottom of
the card front.
Stamp
the frame using Blackberry Bliss ink onto the small piece of Whisper White
cardstock. Then stamp the word “Friend”
in the centre of the frame. Hand cut
out. Add 3 dimensionals on the back of
this frame. Wind the Silver Metallic
Thread 5 times around your fingers to create a circle of thread, attach this
the back of the dimensionals on the back of the frame and adhere to the
embossed strip. Add 3 sequins randomly
on this panel to finish. Add
dimensionals to the back of the card front and adhere to the Blackberry Bliss
card base.
For
the inside of the card, stamp the dragonfly with Blackberry Bliss ink in the
right bottom corner on the Whisper White piece.
Adhere this to the inside of the card.
Card 3
Stamp
the flower image with Basic Black Archival Ink onto the Whisper White cardstock
piece. Colour the flowers using the
Blackberry Bliss and Mossy Meadow Classic Stampin’ Pads. With the Stampin’ Pads closed press the lid
in the centre to transfer ink to the inside lid, open the Stampin’ Pad and
using the Aquapainter (filled with water) pick up some ink from the lid and
colour the image. Allow to dry after
finishing the watercolouring.
Take
the random dots image and second generation stamp using Mossy Meadow around the
floral image. Second generation stamping
is where you ink up the stamp, stamp onto a scrap piece of paper and then stamp
onto your project.
Adhere
the piece of Designer Series Paper on the right hand side of the stamped
piece. Adhere this to the Blackberry
Bliss mat and then onto the Whisper White card base. Add the word “Thanks” to the bottom of the
card front and place three rhinestones randomly on the card to finish.
Adhere
a thin strip of Designer Series Paper to the Whisper White inside piece, adhere
the Blackberry Bliss mat and adhere to the inside of the card.
Card 4
Stamp
the floral image using the Basic Black Archival ink onto the Whisper White cardstock
piece. Colour the flowers using the
Blackberry Bliss and Mossy Meadow Classic Stampin’ Pads.
Stamp
the random dots image using Blackberry Bliss ink. Adhere this piece to the Mossy Meadow mat and
then adhere this piece to the Blackberry Bliss card base. Adhere the Whisper White 1 ¼” strip onto the
Blackberry Bliss 1 ½” strip. Adhere this
across the bottom of the card front.
Adhere the word “Thanks” to this piece.
Add 3 sequins randomly on the card to finish.
The
inside Whisper White piece as stamped on the bottom right corner with the
floral image and Basic Black Archival ink.
Card 5
Stamp
the floral image using the Basic Black Archival ink onto the Whisper White
cardstock piece. Colour the flowers
using the Blackberry Bliss and Mossy Meadow Classic Stampin’ Pads. Take the random dots image and second
generation stamp using Mossy Meadow around the floral image.
Adhere
the word “Hello” to the bottom of the card front and the silver glimmer paper
butterfly to the top of the card. Add 3
rhinestones to the card front to finish.
Adhere the card front to the Basic Black mat and then adhere this to the
Blackberry Bliss card base.
For
the inside of the card stamp the floral image in Basic Black Archival ink on
the bottom right corner and then adhere this piece to the inside of the card.
Thank you for visiting.
Carolyn