I know it is a bit early for Easter but when I found these gorgeous little baskets on Pinterest made by Caroline from CraftyCarolineCreates I just had to try them out.

I have change how the basket is put together slightly as I wanted to use the Gingham Gala 6" x 6" paper pack and one of the pieces measures 3/4" x 6 1/2" so I was not going to get this strip out of this paper pack. So I got my thinking cap on and cut a piece of coordinating cardstock at 3/4" x 6 1/2" to adhere my Designer Series Paper strips to.
To make this basket you will need:
Designer Series Paper - 4 pieces cut at 3/4" x 6"
Designer Series Paper - 1 piece cut a 1/2" x 6" (handle)
Cardstock - 1 piece cut at 3/4" x 6 1/2"

To put the basket together put two strips of Tear & Tape on the back of the piece of cardstock and adhere the 4 pieces of 3/4" x 6" to this with the side you want facing out face down.

You then take the bottom of the first strip and adhere this to the cardstock strip, continuing until the 4 pieces are adhere.

This is what it looks like once the 4 strips have been adhered in place.

Join the top together to form the basket base.

Put Tear & Tape on the handle ends, make sure that this is the right side facing up. Adhere to the inside of the basket.
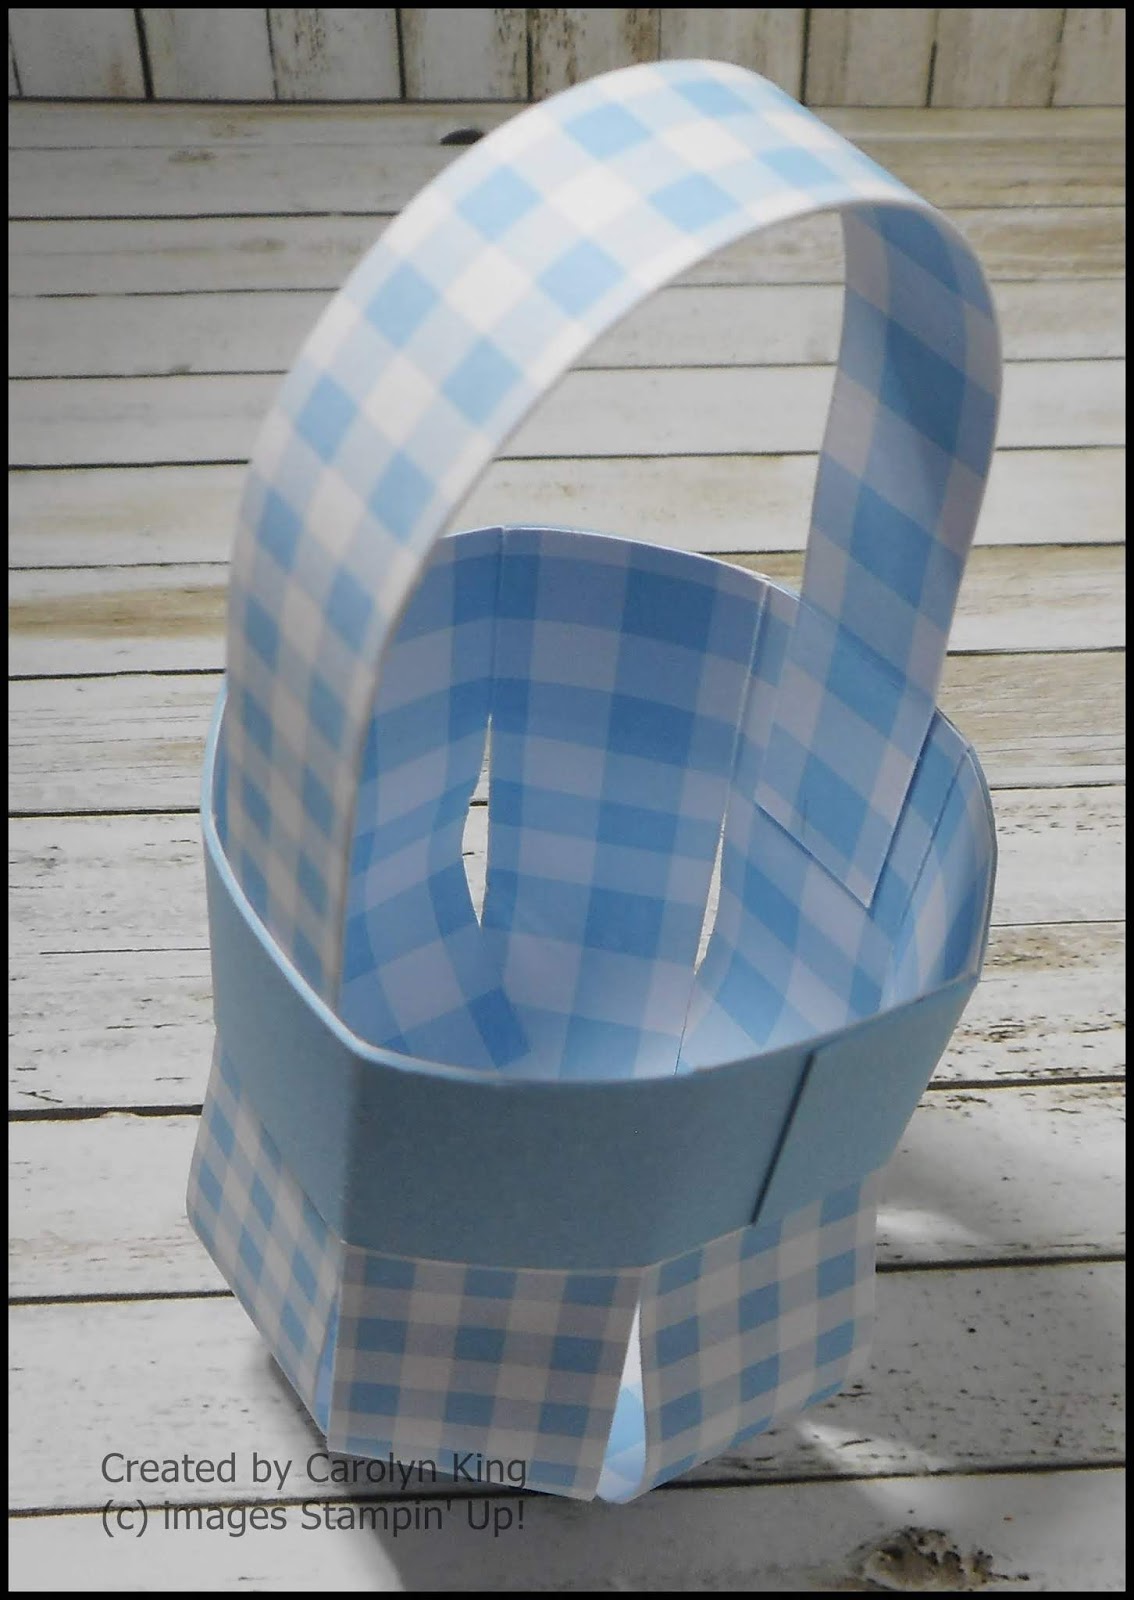
The handles do show on the inside but once you have your chocolates in the basket you will not see them.
I decorated the baskets with the Best Bunny stamp set and the Bunny Builder Punch. I stamped the Bunny imaged using Soft Suede ink and I coloured him or her using the Early Espresso and Flirty Flamingo Watercolour Pencils and a Blender Pen.
I set the images up on the Stamparatus so that they can be stamped and then punched out in one go. This is great if you are wanting to make multiples of these little bags.
The 'Easter Blessings' sentiment is from the Itty Bitty stamp set, stamped in Soft Suede and trimmed to size.
I adhered the Bunny in place to cover where the join of the basket base is. This is not necessary, however I like the finished effect with the join covered.
I adhered the Bunny in place to cover where the join of the basket base is. This is not necessary, however I like the finished effect with the join covered.
If you live in Australia
you can get all the supplies you need
for this project from me.
You can place an order online or Contact Me and place an order.
Thank you for visiting.
Carolyn


Thank you for the revised tutorial!!! The are the cutest!
ReplyDelete