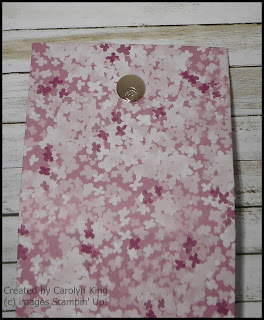
Hi everyone, as promised here are the instructions for the purse post-it note holder with a small calendar.
Cutting Guide
Cardboard cut
· 1 piece 3 ¾” x 3 ¼”
· 2
pieces 2 ½” x 3 ¼”
· 2
pieces ½” x 3 ¼”
Designer Series Paper (DSP) cut
· 1 piece 11” x 4 ¼”
· 1
piece 9 ¾” x 3”
Technique
Measure ½” and draw a pencil line on
the inside of the DSP on all four sides of the 11” x 4 ¼” piece of DSP. This is the guide for when you are adhering
the cardboard pieces.
With a Glue Dot adhere one piece of
the magnet to one of the 2 ½” x 3 ¼” pieces, making sure that it is about ¾”
from the top edge.
Using Tombow Mono Multipurpose Glue stick the cardboard to the DSP, making sure to put the magnet in the correct position. That is the outer edge on one end, face down onto the DSP.
When sticking the cardboard down
leave a 1/16” gap between the pieces for folding. Put the two end 2 ½” x 3 ¼” pieces in
position first lining them up with the pencil line guide. You can then glue the other 3 pieces into
position.
Press down and smooth paper to make
sure it has adhered well and you have no air pockets. Let dry before moving onto the next stage this
will not take very long).
Fold corners in on a diagonal and stick down with a small dot of glue. Fold over the short ends and burnish with a bone folder. Now stick down with Multipurpose Glue making sure that you fold over the edges nice and snug to the edge of the cardboard. Do the long sides the same. Using the bone folder lightly burnish in the creases where the folds will be. Gently fold the pieces up so that the shape of the cover is formed.
Take the other side of the magnet and let it stick to the other magnet. Put a Glue Dot on the back and then bring the two ends of the cover together. Press down, this will make sure the magnets are lined up. Gently pull apart so that the magnet is now in place. Glue the other piece of DSP for the inside cover in place, this will cover the magnet so you will not see it.
With the bone folder gently crease
the lines of the folder where the sides will fold over. This helps the cover to close without tearing
the DSP.
For the inside, stick a 3” piece of
6mm elastic to the back of the Post-It Notes using a strong double sided tape
such as Sticky Strip. I put the tape on
one end of the elastic to hold it in place, fold the elastic over the pen
stretching it slightly and then put tape on the other end of the elastic to
hold it in place. I find that the
elastic does not pull through when it is done this way. Stick the Post-It Notes to the centre panel,
making sure to leave enough room for the pen (I usually have the pen in the
elastic on the Post-It Note holder when sticking it down, this way you know
that it will line up).
To decorate the front you can do what
you like, however bear in mind that you will be taking it in and out of a purse
so you need to make the decoration as flat as possible.
You can get all the supplies you need
for this project from me
You can place an order online and join in the fun with the On-line Club or Contact Me and place an order.
Don't forget Sale-A-Bration.
For every $90 AUD you spend you get to choose a free item
from the Sale-A-Bration catalogue.
Thank you for visiting.
Carolyn


No comments:
Post a Comment